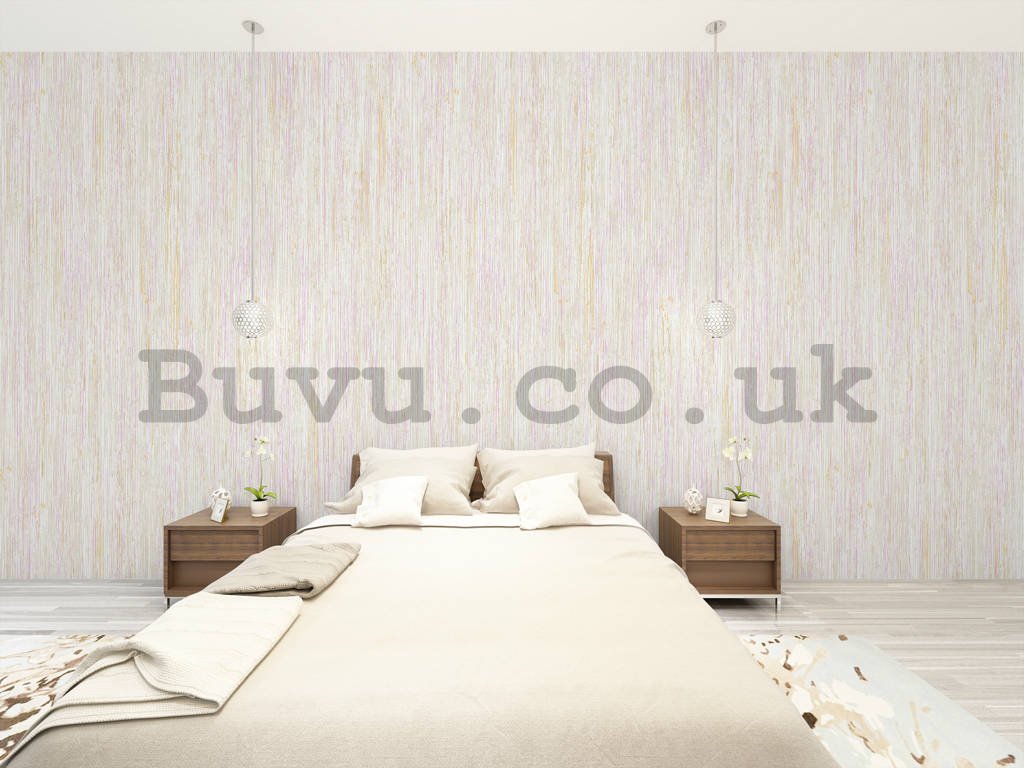
Quality vinyl wallpaper for the interior of your home, apartment or office. Vinyl wallpapers really do last well (unlike paper ones). These wallpapers are made from PVC, and not only do they give your interiors a perfect appearance, they are also extremely hard-wearing, resistant and easy to clean. The upper layer is made from vinyl, while the lower one has a paper base. Because the surface of the wallpaper has been strengthened, it can be used in rooms with greater moisture levels, such as kitchens and bathrooms. These wallpapers are also an ideal choice for offices, halls and dining areas. One great advantage of vinyl wallpapers is their structured surface, which can help conceal any imperfections on your walls. Naturally, if you want the very best results, we recommend getting an expert to hang your wallpaper.
Procedure for hanging vinyl wallpapers:
1. Preparing walls for sticking up vinyl wallpaper:
Old wallpaper and coats of paint must first be carefully removed – using water is...
Quality vinyl wallpaper for the interior of your home, apartment or office. Vinyl wallpapers really do last well (unlike paper ones). These wallpapers are made from PVC, and not only do they give your interiors a perfect appearance, they are also extremely hard-wearing, resistant and easy to clean. The upper layer is made from vinyl, while the lower one has a paper base. Because the surface of the wallpaper has been strengthened, it can be used in rooms with greater moisture levels, such as kitchens and bathrooms. These wallpapers are also an ideal choice for offices, halls and dining areas. One great advantage of vinyl wallpapers is their structured surface, which can help conceal any imperfections on your walls. Naturally, if you want the very best results, we recommend getting an expert to hang your wallpaper.
Procedure for hanging vinyl wallpapers:
1. Preparing walls for sticking up vinyl wallpaper:
Old wallpaper and coats of paint must first be carefully removed – using water is best. Degrease using wallpaper remover or wallpaper adhesive.
The surface of the wall must be dry, clean, smooth and non-greasy. Make sure that the surface on which you apply vinyl wallpaper is completely dry. If the surface is even slightly damp, mould may grow under the top layer of your vinyl wallpaper after application!!! HPL panelling and layered coats of paint should be roughened and thoroughly degreased. Any uneven areas should be smoothed with spackle. Check the absorbency of the surface and inspect the dampness of your walls.
Fresh plaster, plasterboard, and all absorbent wall surfaces must first be coated with a primer/sealer that will uniformly bind the surface together. Use either a special preparation or apply adhesive directly. Make sure you use a primer/sealer or adhesive before starting to hang your wallpaper.
If the wall is non-absorbent, it will need going over with a sander and ensuring a smooth finish.
2. REQUIRED TOOLS:
Correctly chosen tools will make it easier for you to hang your wallpaper.
Pencil, spirit level, ruler, plumb line, tape measure, Stanley knife, scissors, pile roller for the adhesive – or a paste brush, soft wallpaper brush or rubber pressure roller, buckets, cloth, step-ladder, and the appropriate adhesive.
3. Cutting the paper on the wall
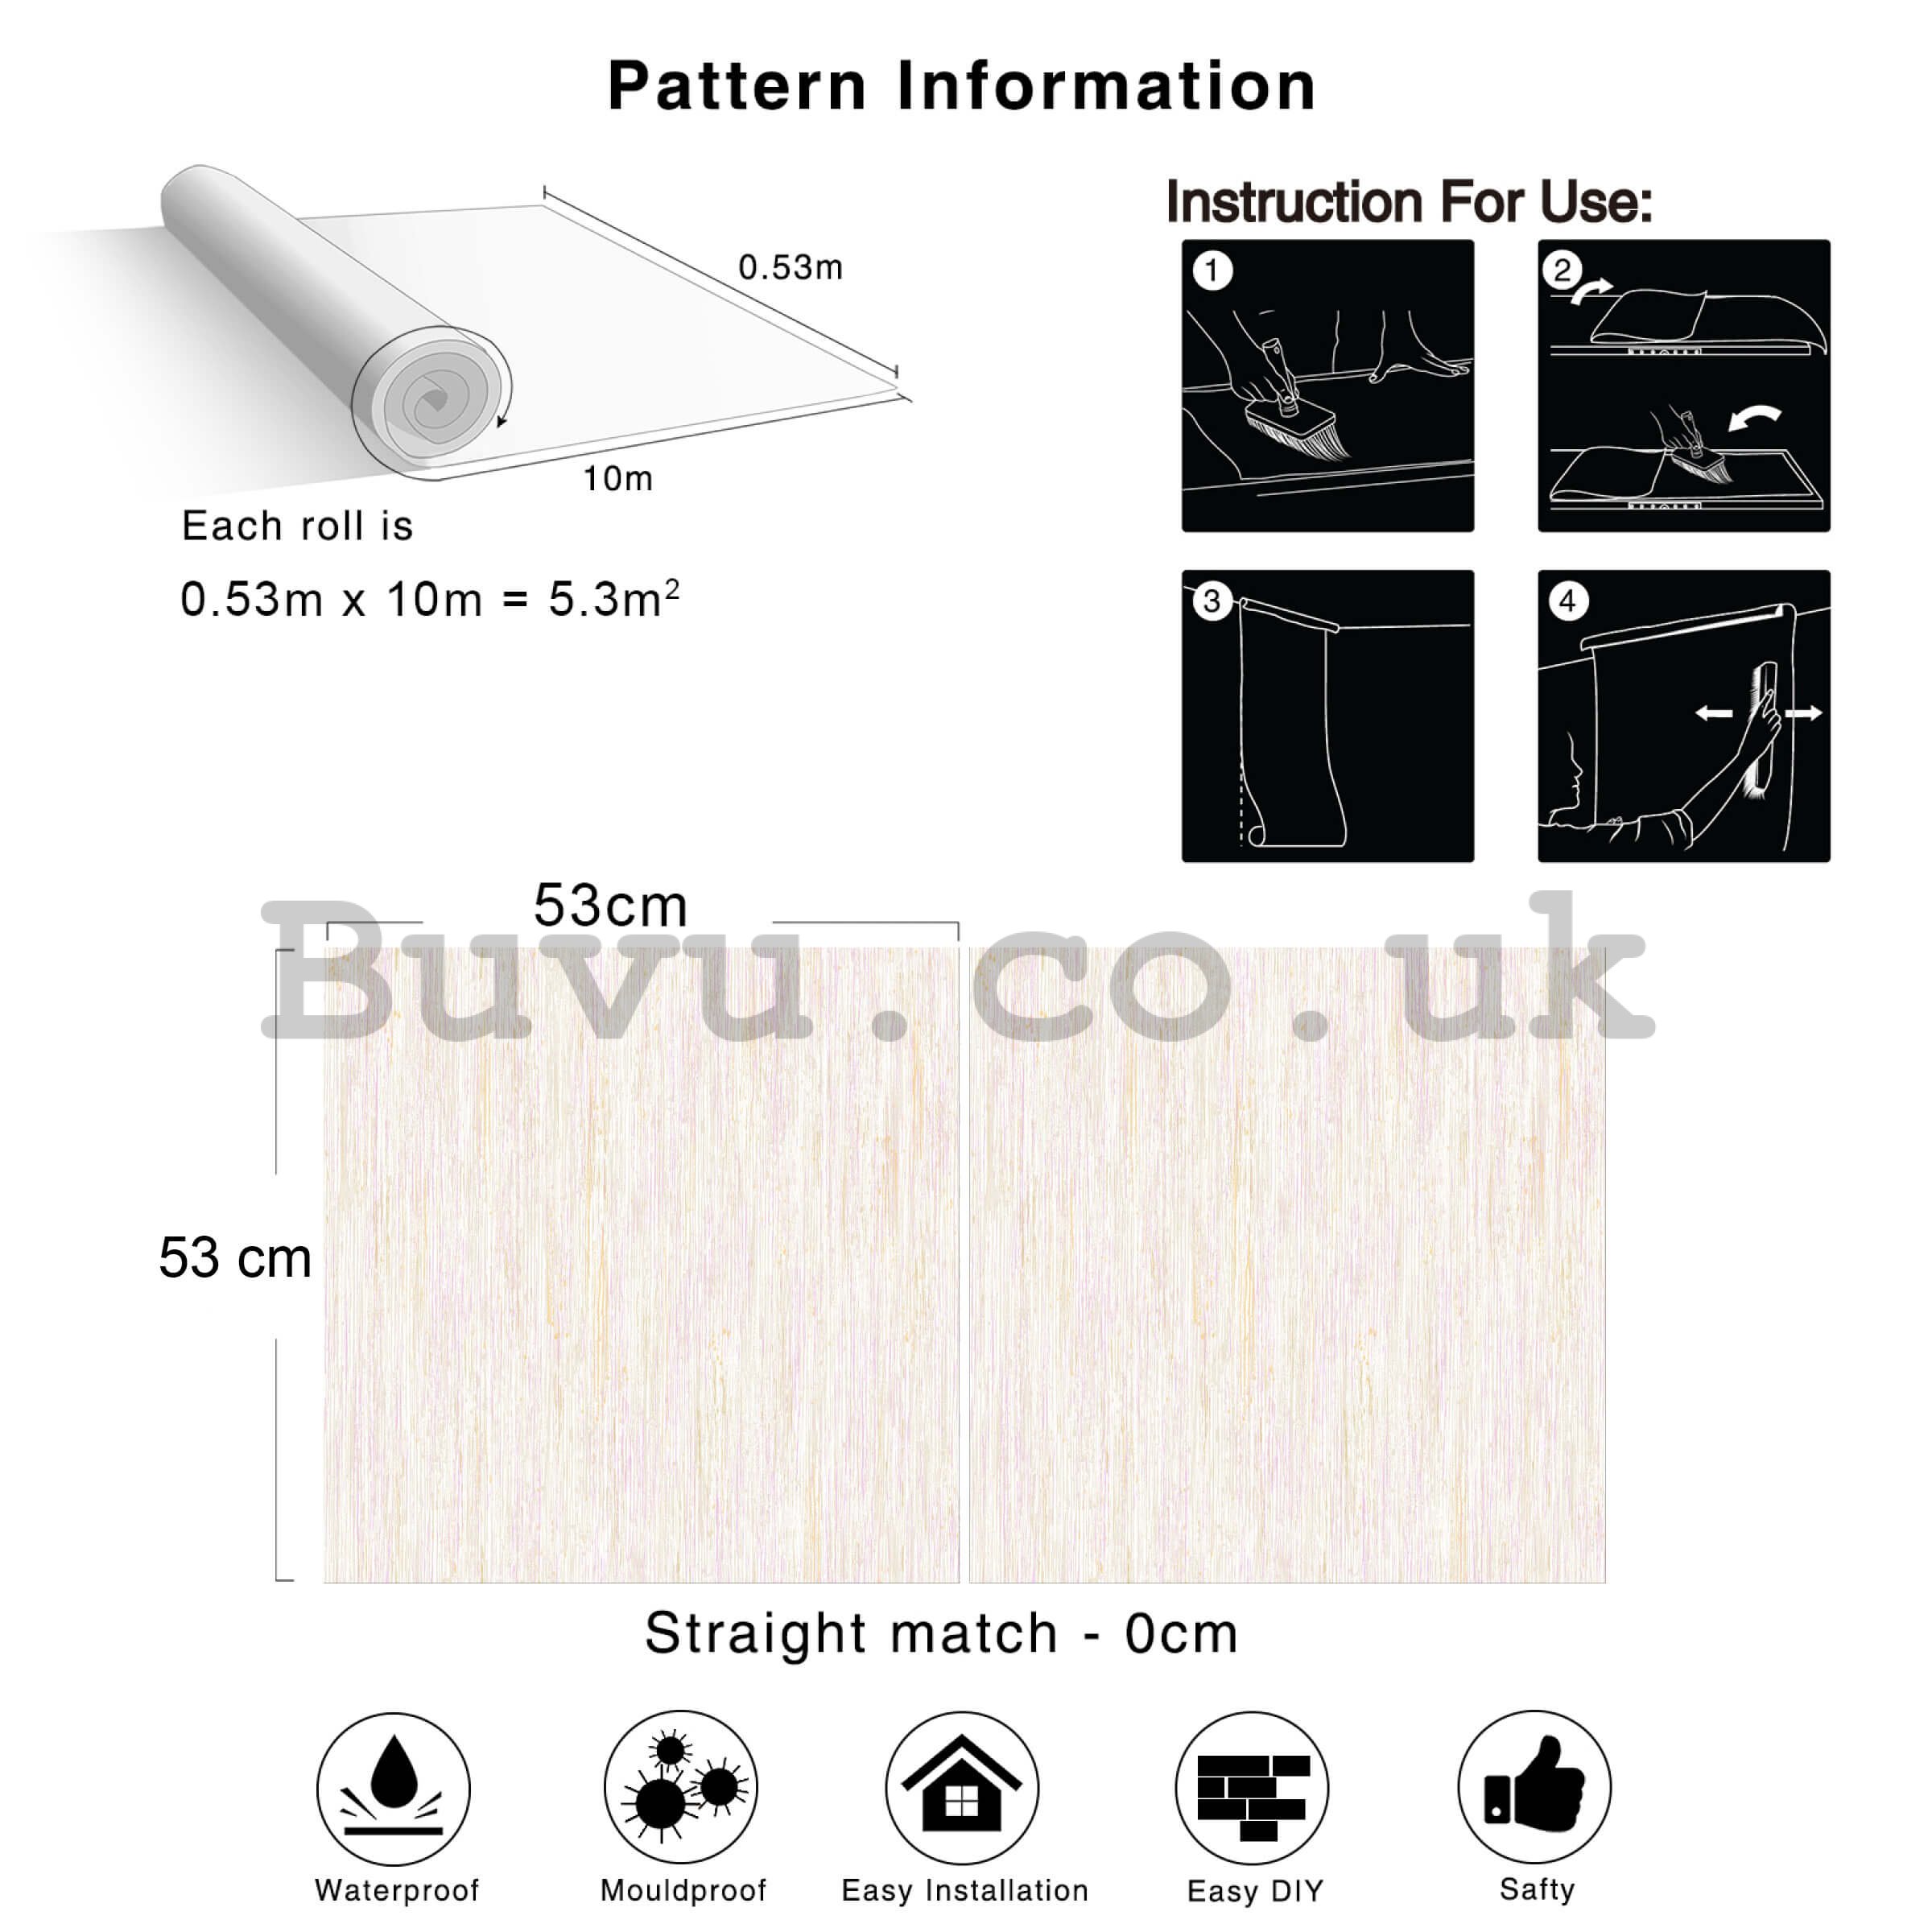
Using a spirit level, or a plumb line and ruler, carefully draw a vertical guideline on your wall. Cut your wallpaper so that its length has a 5 cm overlap at both top and bottom, so that you can level it up straight. We recommend preparing two or three strips of wallpaper ready on the floor – just to make sure the pattern matches up. Make a mark on the top of the wallpaper to make sure you do not glue it the wrong way round.
4. Hanging the wallpaper on the wall
With vinyl wallpaper, evenly apply the adhesive onto the paper using a roller or brush. Allow the prepared paper to rest a moment for the adhesive to take effect (3-5 minutes for standard vinyl wallpaper and 6 minutes for thinner papers). Do not leave for longer than the stated time, or else the paper may rip or stretch.
When we hang wallpaper, we proceed from the windows to the door. We glue from the top to the bottom, following a vertical line. Then we smooth the glued wallpaper from the centre to its edges (removing air bubbles) using a wallpaper brush or pressure roller (a clean, dry cloth can also be used). Any air bubbles that cannot be smoothed out can be removed by carefully pricking through the wallpaper before smoothing the wallpaper surface. If you have applied too much adhesive in places, when you smooth the paper it will leak out at the sides. Be prepared and keep a damp cloth handy. We hang wallpaper so the edges of the strips sit flush against one another; only in corners or other critical places do we glue the paper so that it overlaps. The edge of the wallpaper that overhangs at the bottom should be cut away. Use a ruler and a Stanley knife.
If you are papering around a window recess, allow the paper to overhang and cut it later when glued in place. Before hanging, unscrew and remove electrical switch and socket covers. Then hang the wallpaper, cut out the appropriate shapes, and screw back the covers. DO NOT FORGET TO DISCONNECT THE POWER SUPPLY.
If your wallpaper strips do not stick at the edges, carefully peel the edges back, reapply more adhesive, and smooth down.
Always hang wallpaper in daylight, with the windows and doors shut. Leave the heating on. During drying, it is important to maintain a stable temperature in the room, ideally around 18-20 °C. Prevent draughts or excessive heating!!! Micro ventilation is ideal: draughts or excessive ventilation may cause damage. To prevent bumps from forming beneath the paper, allow vinyl wallpaper at least 12 hours to dry; 24 hours is best. If these climatic conditions are not met, the hung wallpaper may be damaged.
And now the hard work is over. All that remains is to put back your skirting boards, electrical fittings, and arrange your furniture as you please. Job done!
We always recommend getting your wallpaper hung by an expert (painter and decorator), someone who will guarantee a professional finish.


