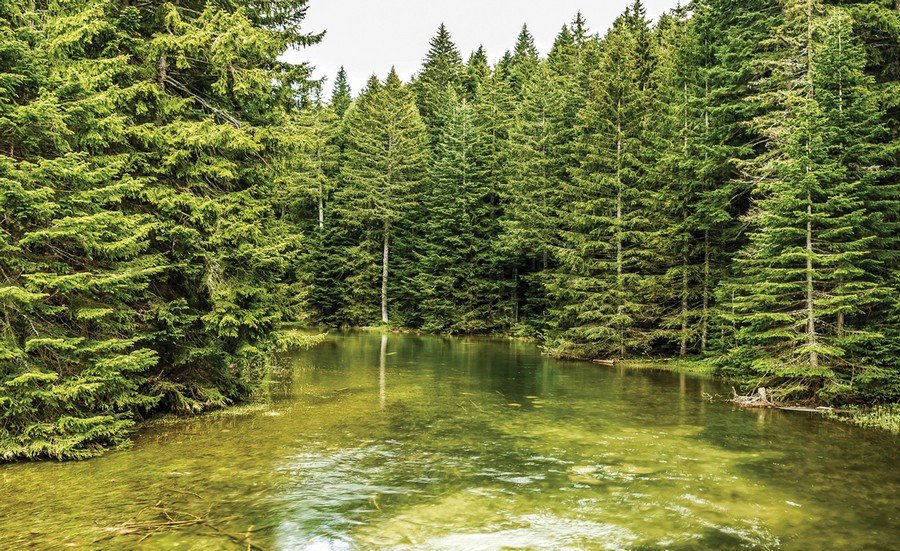
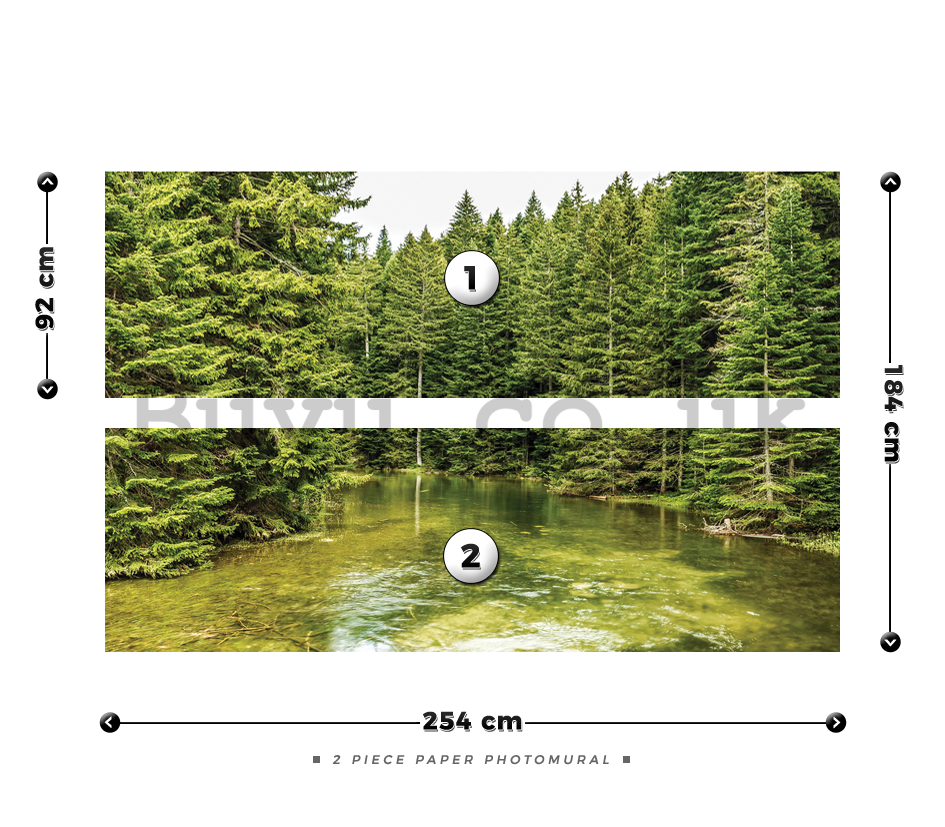
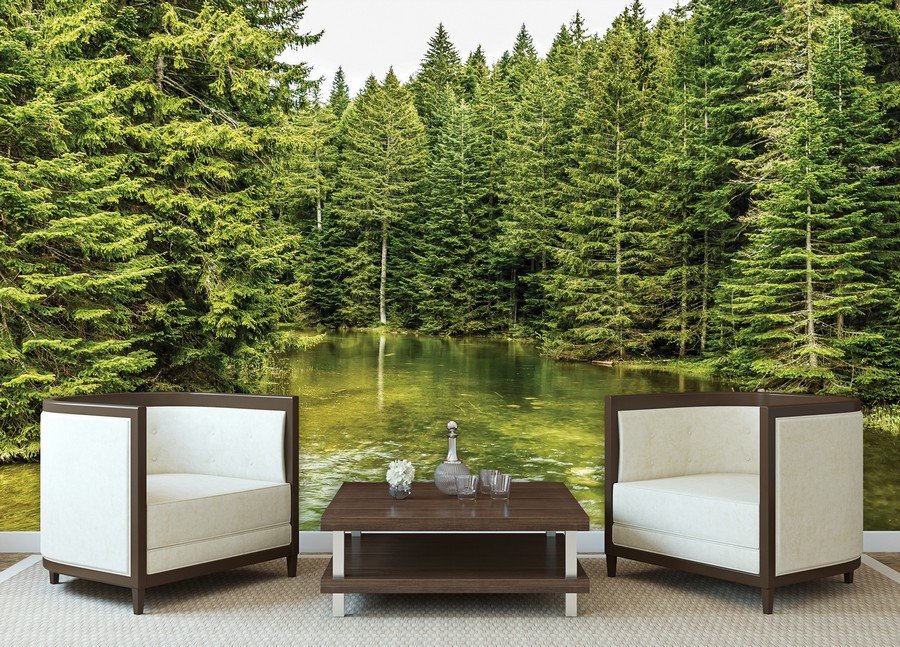
High Quality wallpaper and backgrounds on matte paper with a dimension of 254 cm (width) to 184 cm (height).
Adhesive is already included.
1. surface preparation for bonding wallpapers to wall: The surface should be clean, smooth and free from any debris such as old adhesive or bits of old wallpaper, etc. Any unevenness, holes and cracks is needed before the application photo wall on the wall burnish. The surface should also be slightly absorbent to proper drying.
2. Preparation of glue for the wallpaper: Use the glue which is part of the packaging or any other normal wallpaper paste.
3. Preparation before applying the mural: The most important thing is to place correctly the first part of your mural. To exactly stick the first part of your mural on the wall, you need to have prepared a horizontal and a vertical auxiliary line kthat draws a pencil using a spirit level (and plumb). This line determines the edge of the mural on the wall. Evenly spread the glue on the first arch photo...
High Quality wallpaper and backgrounds on matte paper with a dimension of 254 cm (width) to 184 cm (height).
Adhesive is already included.
1. surface preparation for bonding wallpapers to wall: The surface should be clean, smooth and free from any debris such as old adhesive or bits of old wallpaper, etc. Any unevenness, holes and cracks is needed before the application photo wall on the wall burnish. The surface should also be slightly absorbent to proper drying.
2. Preparation of glue for the wallpaper: Use the glue which is part of the packaging or any other normal wallpaper paste.
3. Preparation before applying the mural: The most important thing is to place correctly the first part of your mural. To exactly stick the first part of your mural on the wall, you need to have prepared a horizontal and a vertical auxiliary line kthat draws a pencil using a spirit level (and plumb). This line determines the edge of the mural on the wall. Evenly spread the glue on the first arch photo wall. The important thing is to get enough glue on the edges of the photo wall, to avoid unsticking from the wall. When the application of the adhesive always follow the instructions on the glue. We recommend that you arch photo wallpaper enclosing it on the wall immediately after painting the glue.
4. Apply wallpaper: Place the first sheet on the relief line, smooth it from the top down and push the air out from the center to the sides. Continue with sticking other parts, which we recommend to always exceed 2-3 mm. This minimizes the possibility of cracks (the sheets may slightly collapse during the drying process).
5. Dry wallpaper: The recommended wall temperature is the room temperature of 20 ° C. Drying the wallpaper on the wall should be slow. If there is a high temperature in the room, a wallpaper can quickly dry out and as a result the joints may break open and the walls may crack. The overhanging edges of the wallpaper after curing cut on the wall with a knife blade.
Since this is a paper material, care must be taken to follow the instructions for bonding the photo wallpaper. Throw away the photo wallpaper before gluing it to a wall or wall and check it. If you feel that there is reason to complain, you must inform us before attaching the wallpaper to the wall. Later, the claim can not be accepted. Failure to follow the above procedure may be a reason to reject a complaint of purchased photo papers


